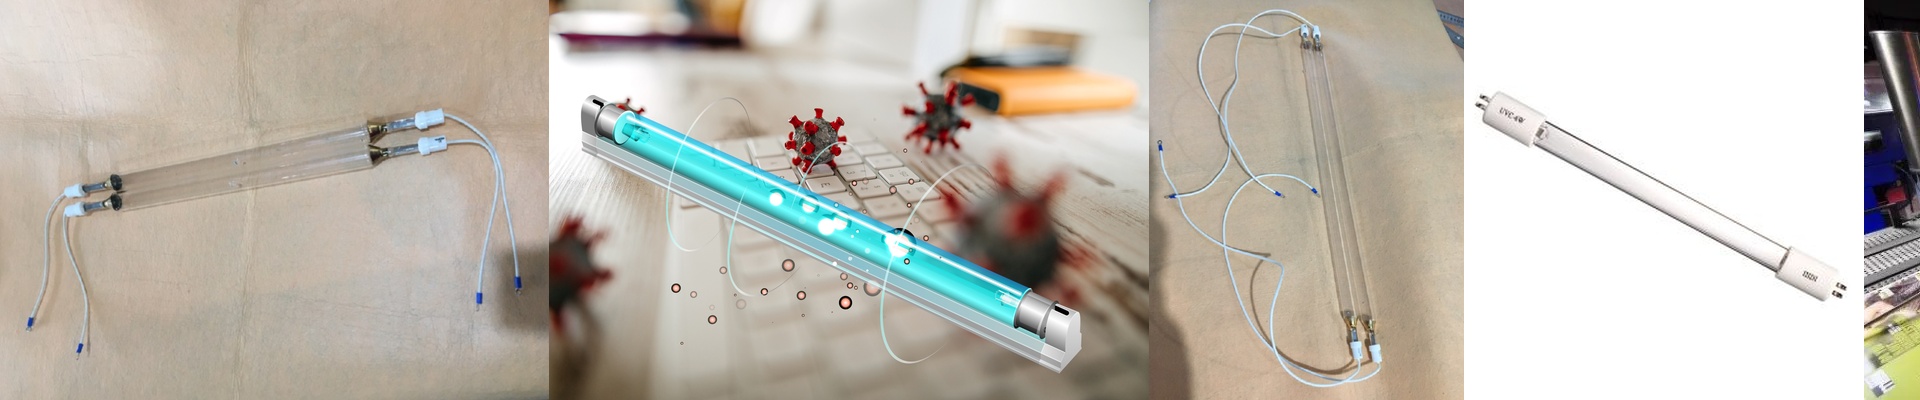
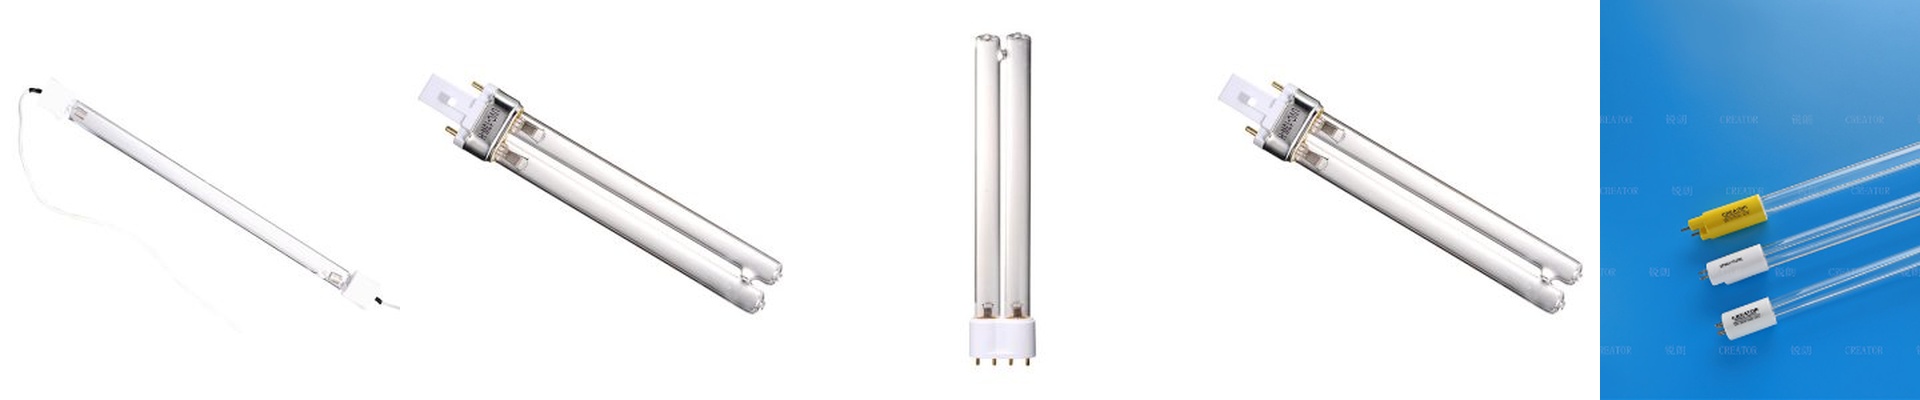
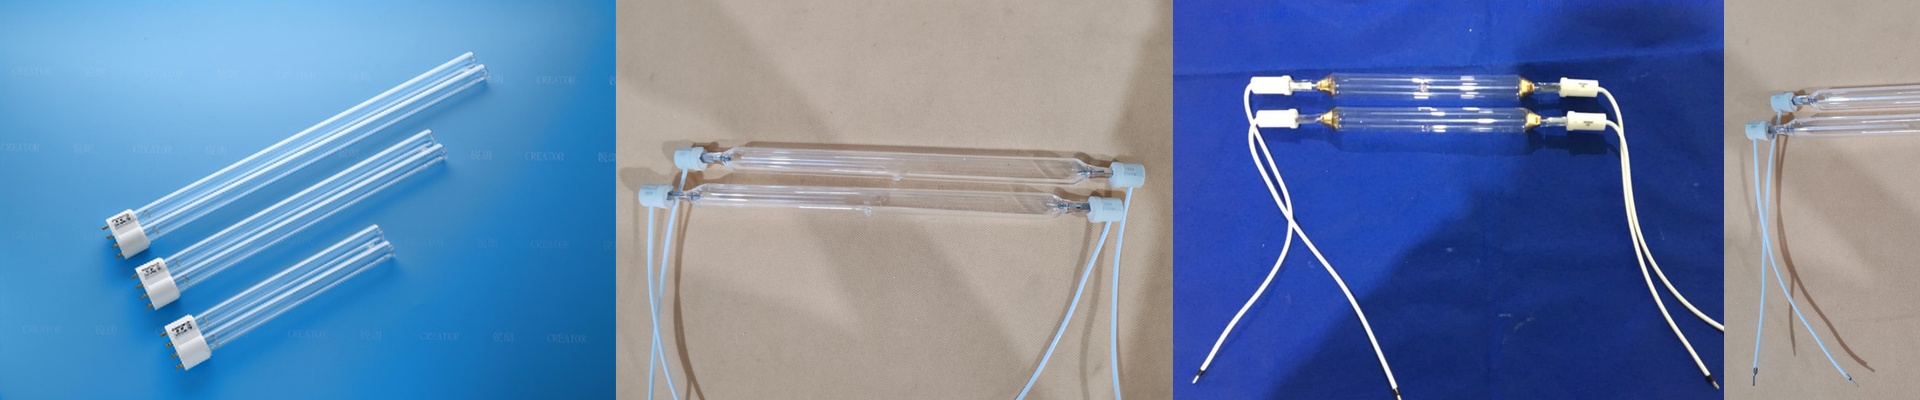
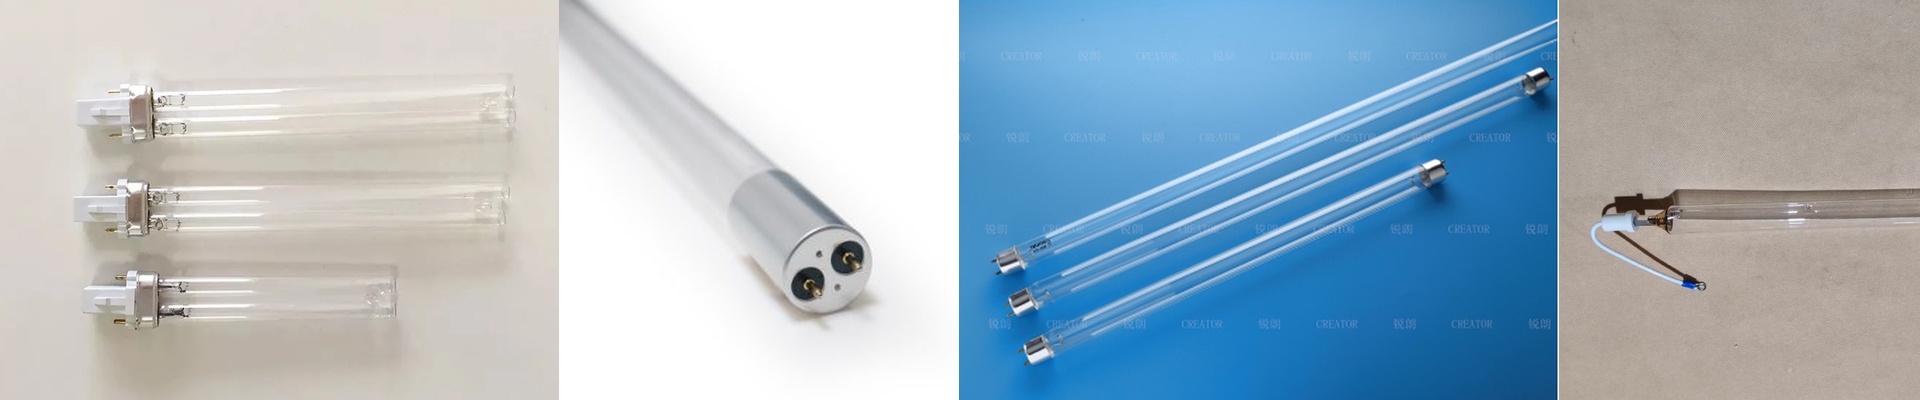
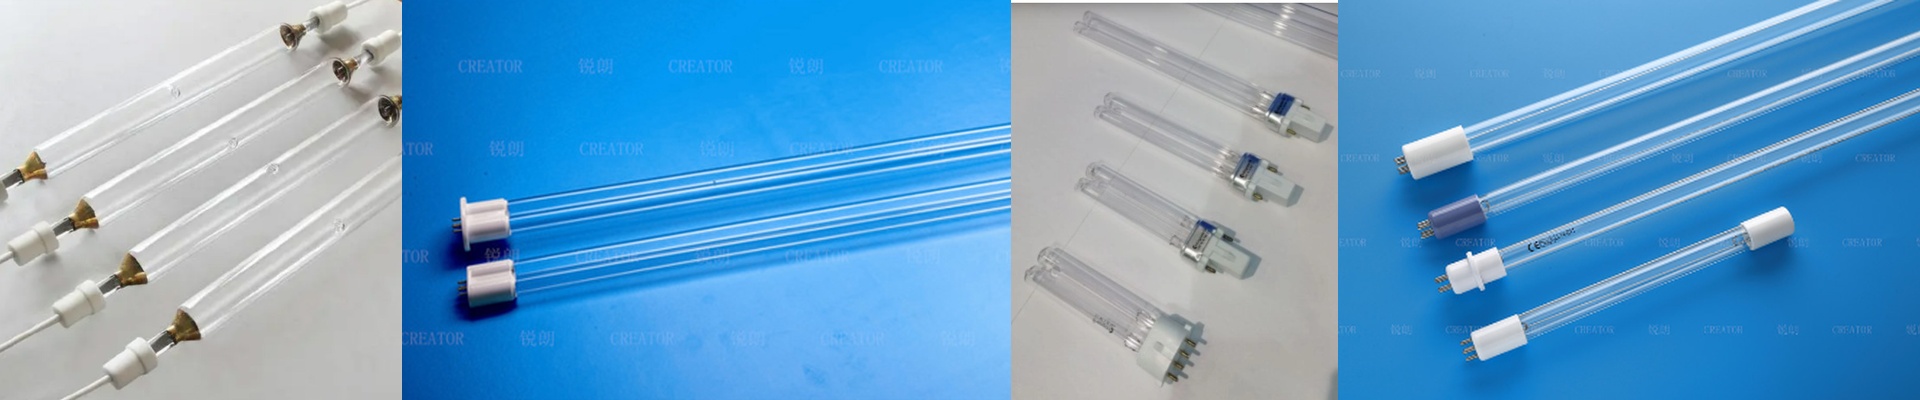
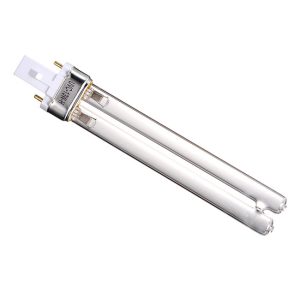
On the press, a job with bevels, deep recesses, or tight radii can bring you to a halt. The UV system just can’t see every surface. You end up with uncured ink in the shadows, adhesion issues, and scrap. Standard lamps and reflectors tend to throw a uniform beam that misses the angled zones, leaving energy gaps where the photoinitiator never gets triggered for cross-linking. What matters under the hood We build replacement UV lamps for printing presses around two levers you can measure: spectral output and how energy is laid down across the web. Our medium-pressure mercury vapor lamps hold a stable spectrum at 365 nm and 395 nm, with peak irradiance over 12 W/cm² at the arc center. The quartz envelope and dichroic-coated reflectors shape the beam to flatten the profile across the print width—cutting the hot spot that wastes power while lifting the low end in shadow-prone areas. Output stays within ±3% over lamp life, so you can hit the energy density you need—often 600–1200 mJ/cm²—without chasing setpoints mid-run. Why this works on irregular geometry With odd-shaped parts, we tune reflector geometry and lamp position so the delivered energy wraps the edges instead of skimming them. You can spec the lamp with zoned intensity control, so recessed areas get more irradiance while flat fields don’t get overexposed. That kills the curing dead zones that cause tackiness, helps control dot gain, and keeps color density consistent across the substrate. You can run faster without cranking lamp power, and you cut rework by catching defects before stack and cut. Here’s what to keep straight These lamps are calibrated to specific press architectures and need precise alignment to the reflector focal plane. If they’re mis-seated, beam shape changes and shadows can creep back in. They’re also sensitive to substrate reflectivity and ink pigment loading, so make sure the spectrum matches your ink’s photoinitiator window. Give the system about 24 hours to stabilize after installation before you lock in cure parameters.