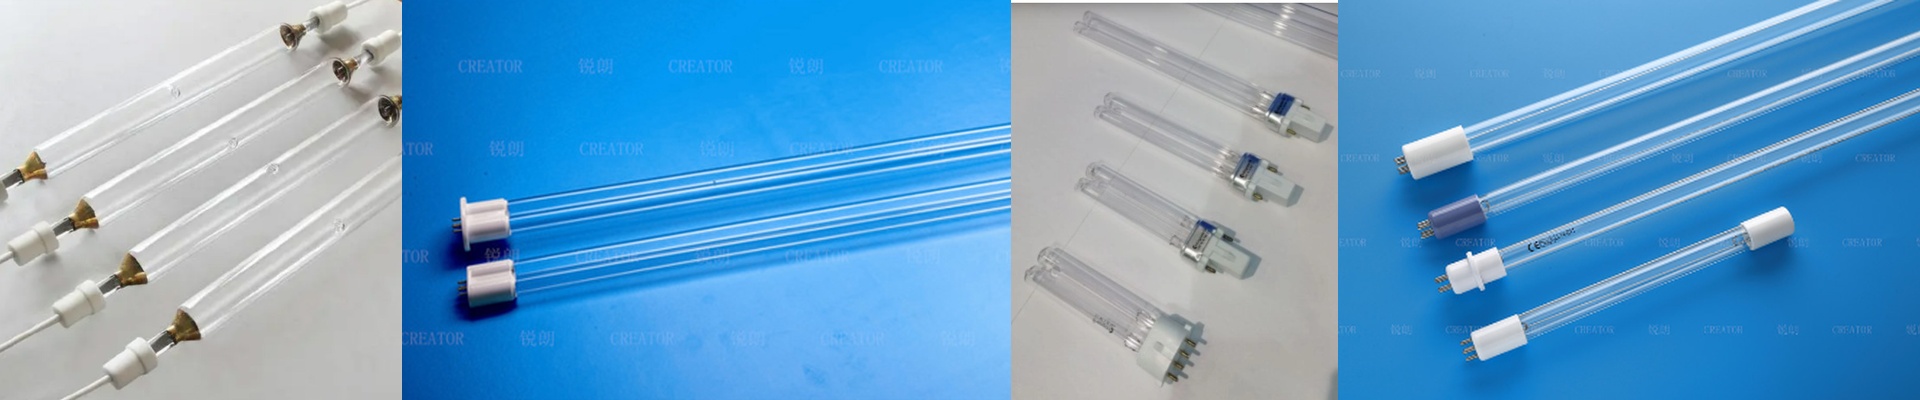
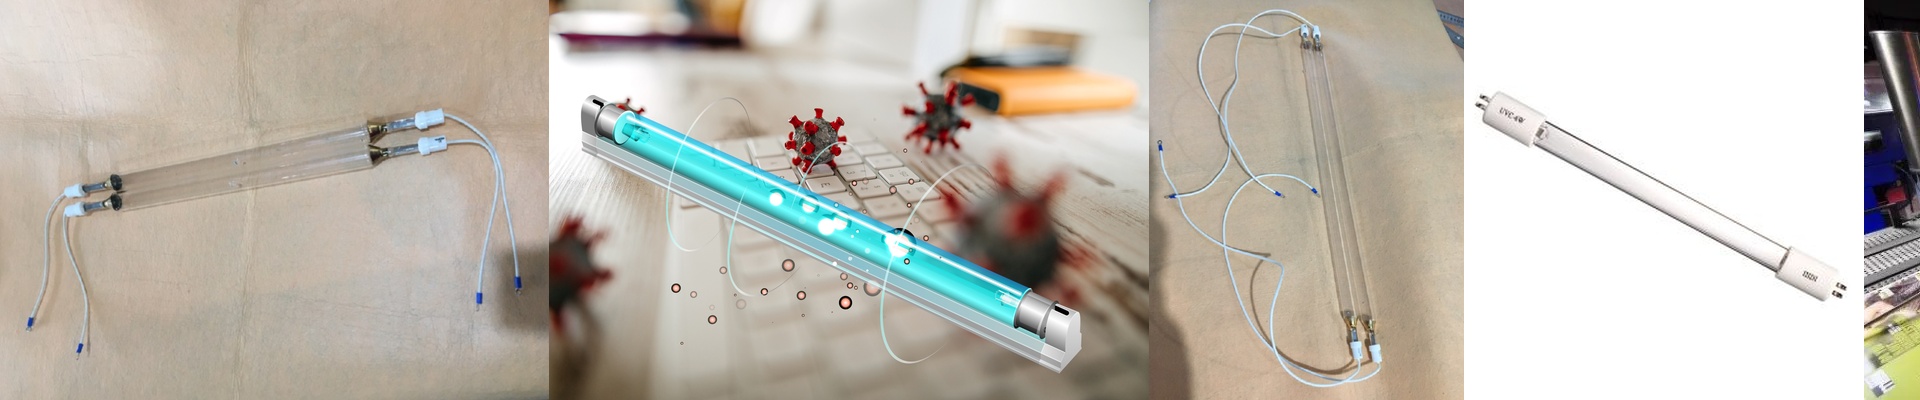
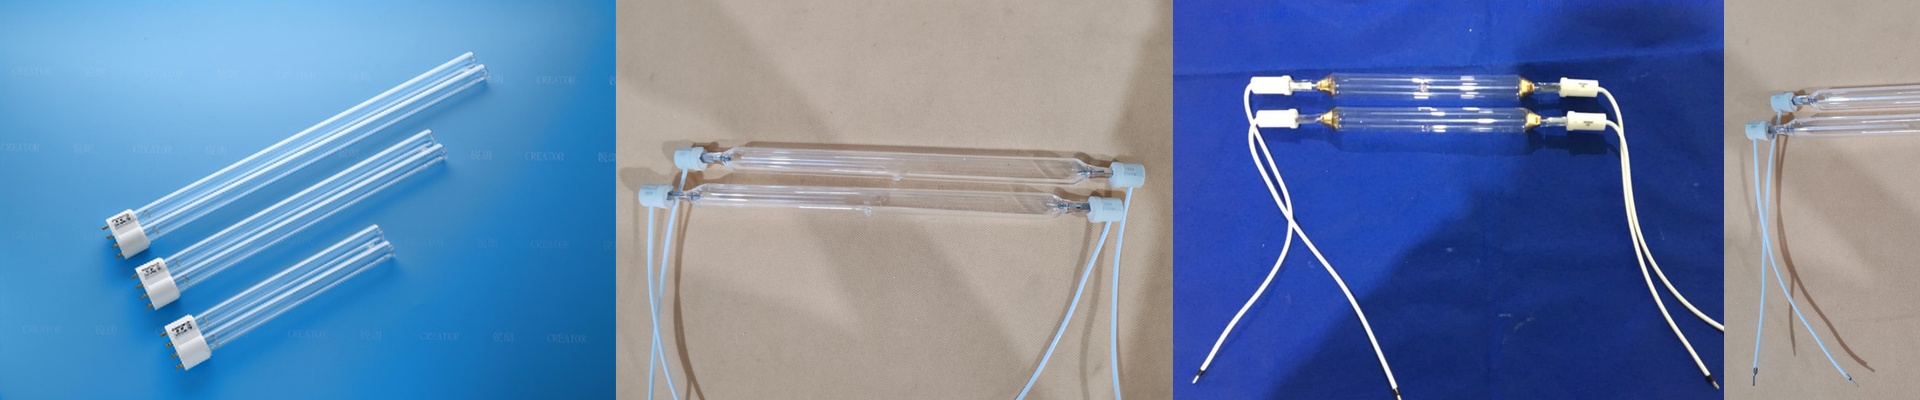
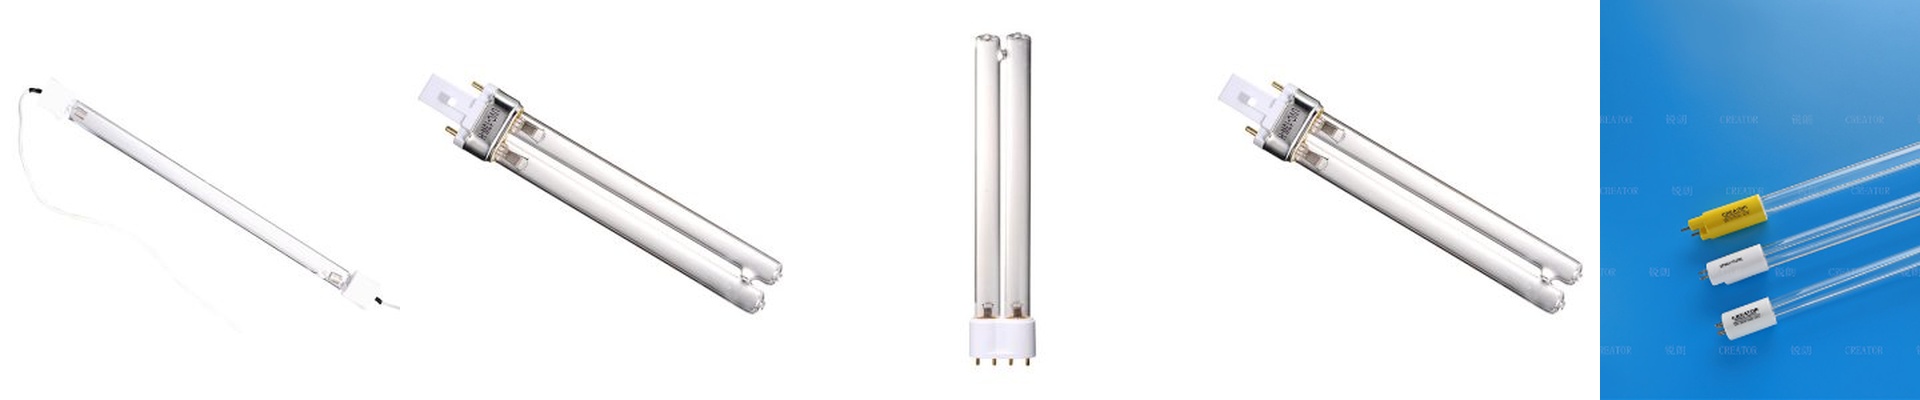
On the press floor, a mismatched UV lamp makes itself known immediately—cures that drag, ink that stays tacky, or substrate that starts to scorch. The fix isn’t guesswork. It starts by matching lamp power and spectral output to your press and the ink chemistry you’re running. A replacement mercury UV lamp has to deliver repeatable irradiance right at the photoinitiator absorption peaks, not just a number on a label. What actually matters technically With mercury vapor lamps, it comes down to spectral distribution and peak irradiance. Your ink’s photoinitiators are tuned to 365nm, 385nm, and the 395–405nm band, so the lamp has to concentrate energy where absorption is strongest. Measure output as UVA dose (mJ/cm²) at the substrate plane, not as lamp wattage. Reflector design—dichromic coatings plus focal geometry—determines the delivered energy density. Spec the lamp by arc length, end fittings, voltage, and connector type to match your fixture, then verify the irradiance profile with a spectral radiometer. Here’s why this works in real production. A properly matched replacement mercury UV lamp stabilizes cross-linking across the full print width, so you stop fighting tail-end under-cure and edge curl. You get consistent cure speeds that keep pace with the press, lower energy per part, and lamp life that behaves predictably. When spectral output stays stable, color density and adhesion repeat job after job, and fewer lamp swaps translate directly into more uptime. A few shop-floor reminders. Confirm compatibility with your shutter, cooling, and ballast. High-pressure mercury lamps run hot, so maintain airflow and keep reflectors clean—otherwise you’ll bleed irradiance. Output drops as the lamp ages, so track cumulative hours and recalibrate dose to compensate. In ozone-sensitive environments, use ozone-free quartz envelopes and verify the spectral output still lands within your photoinitiator window.