

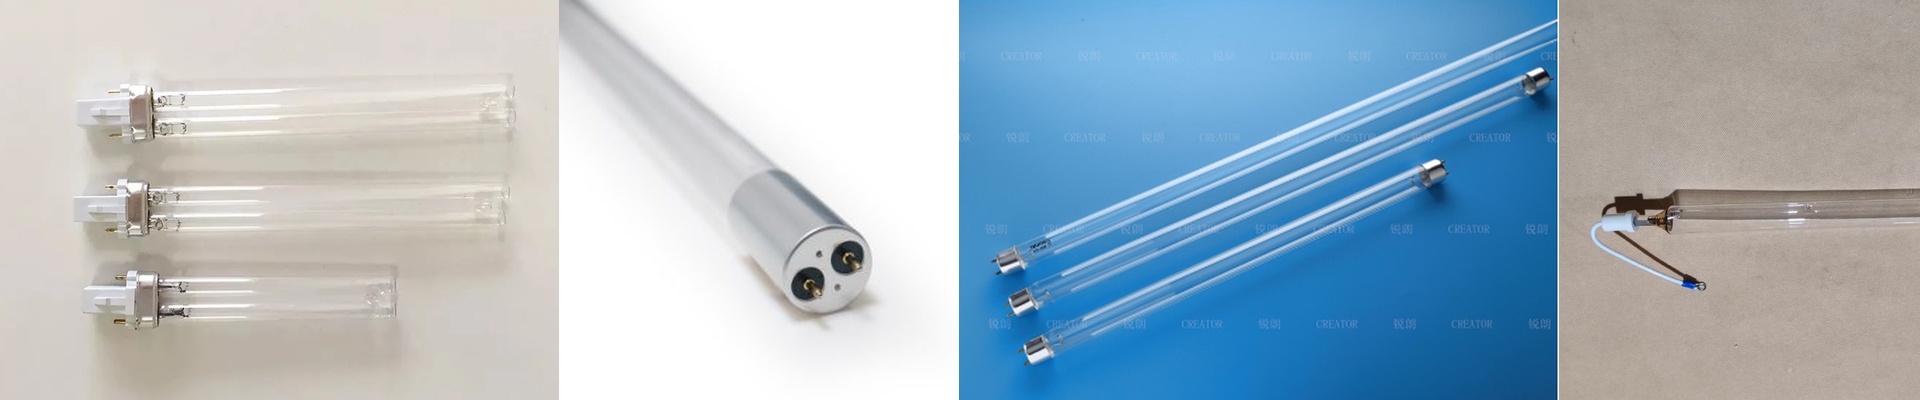


On a high-speed garment line, a missed second on curing doesn’t stay theoretical. It shows up as wet ink, off-spec fabric, and meters of scrap. In that reality, the UV lamp timer switch control isn’t a “nice-to-have.” It’s the heartbeat that keeps lamp output locked to press speed, so you get true second-level curing, shot after shot. What actually matters under the hood The timer switch control runs the ignition sequence, the dwell time, and the shutdown profile. That’s what makes the energy delivery repeatable—same punch, every time. We pair it with a stable mercury vapor lamp and a dichroic-coated reflector to hold spectral output at 365 nm, with peak irradiance high enough to clear the ink’s required energy density (mJ/cm²) inside the dwell window you actually have. The timer holds repeatability around ±1% of the set interval, so cure depth stays steady instead of chasing warm-up drift. Here’s why second-level curing is the only practical way to push throughput on garment work. With the timer calling the shots—lamp on/off plus pre-warm logic—the system is ready at each index. No lag. No tacky prints. No set-off. You end up with faster cycles, consistent cross-linking across the whole image, and fewer stops for quality. And yes, you save energy because the lamp isn’t idling at full power between impressions. You also stretch lamp life by cutting unnecessary burn hours. A few real-world details that make or break it. The timer switch control has to talk to your press controller and the lamp ballast cleanly—voltage, connectors, and signal protocol all need to line up. And the hardware matters. Keep the lamp housing clean, keep reflectors aligned, and keep the quartz window free of ink build-up. If you don’t, spectral output drifts and cure repeatability falls apart. Plan on a calibration routine with a radiometer to verify irradiance and confirm cure on the substrate—especially when you change ink formulations or print densities.